Inquiry
Form loading...
Ceramic Coating On Steel can add a hard, heat-resistant surface, but the result depends on the coating and the steel beneath it. Some products are designed for industrial use; others suit smaller projects. They are not interchangeable. A coating may resist abrasion or moisture, but it cannot reliably conceal rust, oil, or poor preparation.
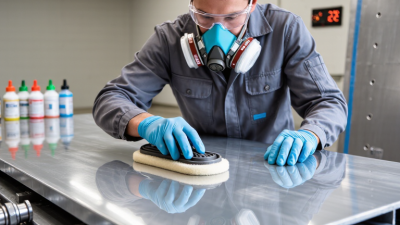
Preparation matters most. Start by checking the steel for corrosion, grease, loose paint, and sharp edges. Clean and dry the surface using methods approved for the selected product. If the instructions call for abrasion or a primer, follow them carefully; coating systems vary. Wear the recommended protective equipment, and work with suitable ventilation. Keep dust and moisture away from the prepared metal.
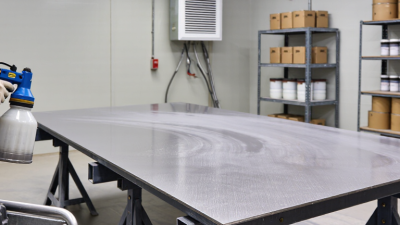
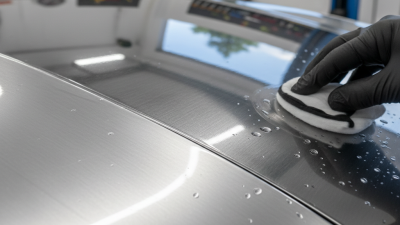
Application usually involves spreading a thin, even layer and observing the product’s specified working time, temperature range, and curing schedule. Use a clean applicator and inspect corners, seams, and welds, where coverage can be uneven. Small defects show. A rushed coat may look smooth at first, then reveal gaps or uneven gloss after curing. That is worth admitting: real results depend on conditions, technique, and the coating itself. This guide explains how to assess the steel, prepare it, apply the coating, and check the finish, while noting when the manufacturer’s instructions should take priority.
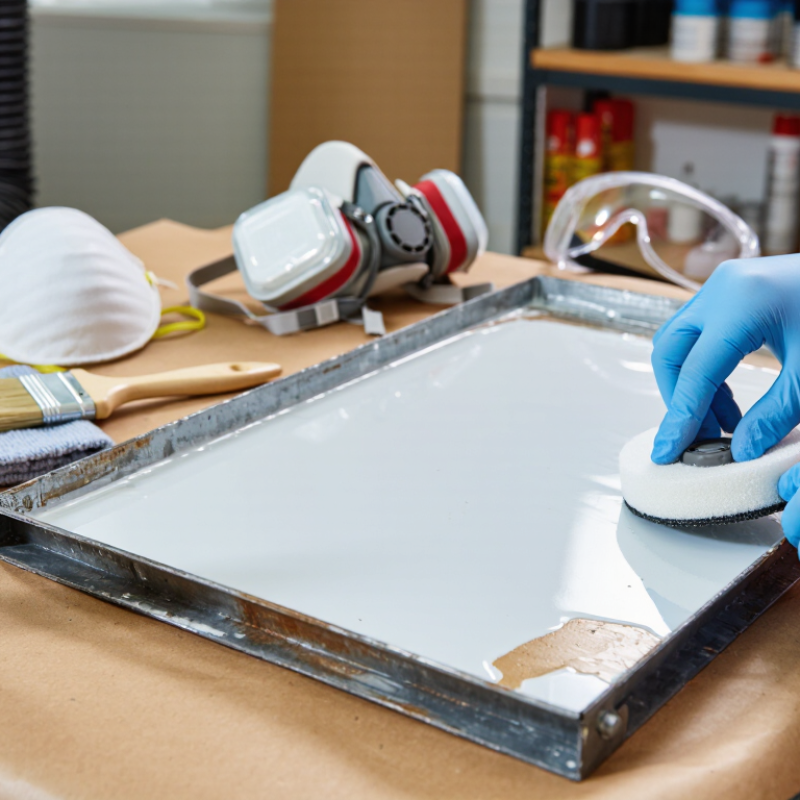
Steel needs a coating system made for its service conditions, not merely one labeled “ceramic.” Check the product data sheet for steel compatibility, required surface profile, primer needs, curing temperature, and maximum operating temperature. A part near an engine or furnace faces different demands from a garden gate exposed to rain.
Preparation decides much of the result. Remove oil and salts, then abrade the steel as specified; smooth, shiny metal may not provide enough grip. Clear away dust and let the surface dry fully. Small details matter. I still find it easy to underestimate contamination around welds and sharp edges. A test patch can reveal poor wetting or unexpected discoloration before the whole part is coated.
Choose the application method to suit both the coating and the part. Spraying can cover complex shapes evenly, while a compatible brush may work better for small repairs or edges. Follow the stated film thickness and recoat window; thicker is not automatically better. Keep the room, steel, and coating within the specified temperature and humidity range. Allow the full cure before handling or service. If the part cannot tolerate the required cure temperature, select a different system rather than forcing the schedule. Coat a hidden area first when the finish matters.
| Ceramic Coating System | Steel Compatibility | Common Application Method | Steel Preparation | Typical Cure Conditions | Indicative Film Thickness | Typical Use | Key Checks Before Application |
|---|---|---|---|---|---|---|---|
| Silica-based sol-gel coating | Can be formulated for carbon steel and stainless steel. Confirm that the specific formulation is approved for the steel grade and service environment. | Spray, dip, flow coat, or brush, depending on the formulation and part geometry. | Remove oil, salts, rust, scale, and loose material. Abrasive blasting or mechanical abrasion may be required; use the coating maker’s specified surface profile and cleanliness standard. | Varies by formulation: some cure at ambient conditions, while others require a controlled heat cure. Follow the specified temperature, time, humidity, and recoat window. | Often a thin film, commonly in the approximate range of 1–20 μm; the product data sheet sets the actual target. | Thin protective or functional layers where a relatively smooth finish and modest film build are desired. | Check substrate cleanliness, surface profile, wet-film control, cure conditions, and adhesion on a representative test piece. |
| Polysilazane-based coating | Some grades are designed for metal substrates, including steel. Compatibility depends on formulation, substrate condition, and the intended exposure. | Usually spray or wipe application; dipping may be used for suitable parts and processes. | Degrease thoroughly and remove corrosion products. Apply only to a dry, clean surface prepared to the system’s stated requirements. | May cure through ambient moisture exposure, heat, or a combination of both. Cure schedules are product-specific and should not be inferred from the coating family alone. | Often applied as a thin film; use the manufacturer’s specified dry-film thickness rather than a generic target. | Thin protective layers for parts needing a ceramic-like surface after the prescribed conversion or cure process. | Confirm allowable substrate temperature, moisture sensitivity, ventilation requirements, cure completion, and adhesion. |
| High-temperature inorganic ceramic coating | Can be suitable for steel components exposed to elevated temperatures when the coating is specifically formulated for the substrate and operating cycle. | Spray or brush application is common; some systems require multiple controlled coats. | Remove oil, rust, mill scale, and contaminants. Abrasive blasting is commonly specified for durable service; avoid flash rust before coating. | May require air drying followed by a staged heat cure or heat-up cycle. The component’s permitted temperature and the exact cure schedule must be checked. | Specified by the product; multiple coats may be used. Excessive thickness can cause cracking or poor heat-cure performance. | Steel parts exposed to heat, thermal cycling, or high-temperature environments within the coating’s rated limits. | Verify maximum continuous and intermittent service temperatures, thermal-cycle limits, cure ramp, and compatibility with the steel assembly. |
| Thermal-sprayed ceramic coating | Can be deposited on steel, but the process must account for substrate temperature, distortion risk, and the coating system’s bond layer requirements. | Industrial thermal spray, such as plasma spray or other process selected for the coating material and component. | Professional surface preparation is required, typically including abrasive blasting to a specified profile. Masking, preheating, and bond-coat steps may also be required. | Deposited using specialized equipment; process temperatures are high, but the steel substrate is not necessarily brought to the ceramic material’s melting temperature. | Commonly tens to hundreds of micrometres, depending on process, material, and design requirements. | Wear, heat, or functional surface protection for engineered components requiring a thicker deposited layer. | Use a qualified applicator. Specify coating composition, thickness, porosity, bond strength, surface finish, and inspection criteria. |
| Steel-compatible ceramic-filled hybrid coating | Suitable only when the resin or binder system is explicitly rated for the steel substrate and operating conditions; “ceramic-filled” does not automatically mean fully ceramic. | Brush, roller, or spray application, depending on viscosity and coating design. | Remove grease, salts, rust, and loose coatings. Abrade or blast the steel as required, then remove dust before coating. | Usually ambient or moderate-temperature cure, but cure time varies with product, film thickness, temperature, and humidity. | Often thicker than thin sol-gel films; follow the specified wet- and dry-film thickness limits. | Maintenance and corrosion-protection applications where a thicker barrier layer is needed. | Check steel-specific adhesion, immersion or chemical resistance, permitted recoat interval, and required surface preparation. |
| Application sequence: identify the steel grade and service conditions; select a coating explicitly intended for steel; remove contaminants and prepare the surface to the system specification; apply within the stated environmental limits; cure exactly as directed; then inspect thickness, appearance, and adhesion. For corrosion claims, use a specified test method and acceptance criteria. Salt-spray results, such as ASTM B117 exposure, are comparative test data and do not by themselves predict service life. | |||||||